WEEk one: OLD SCHOOL
what's the brief?
This project is all about testing our manual skills.
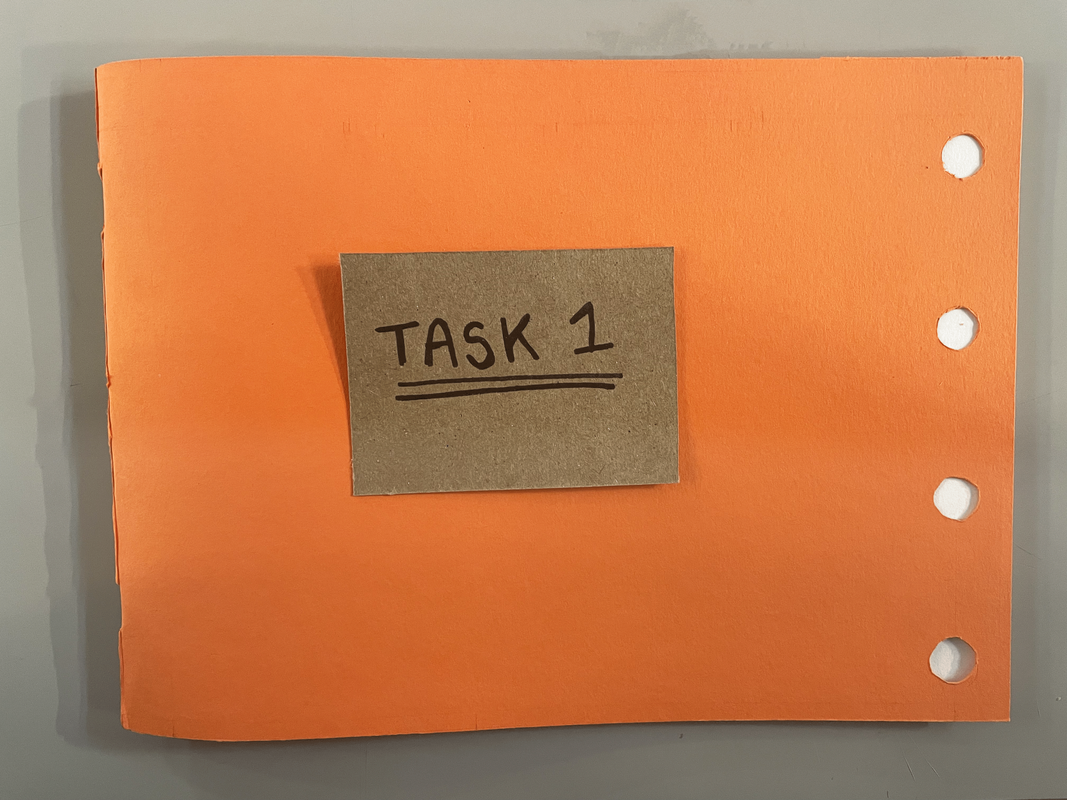
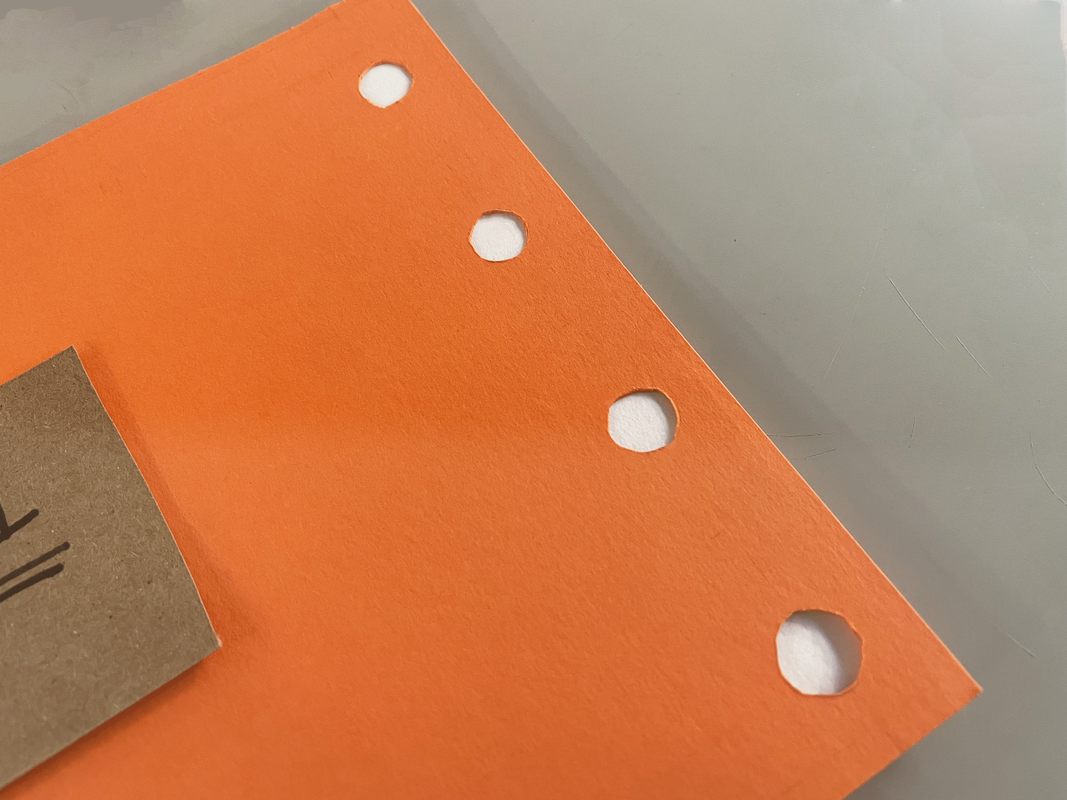
Task One:
|
|
This task was to create a landscape format saddlestitched sketchbook. I found making this book fun however I struggled with cutting the holes in the side, I used a cutting knife to do so, however I realised after critique that I could have used a hole punch.
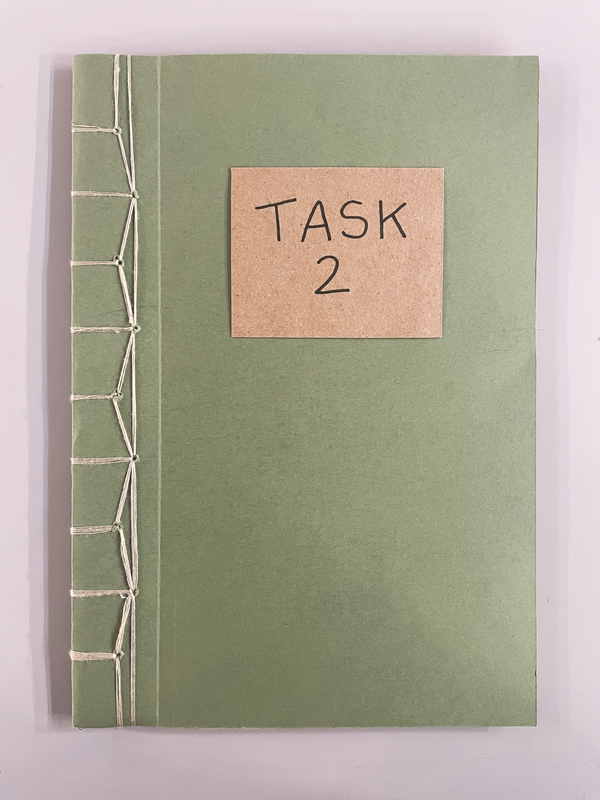
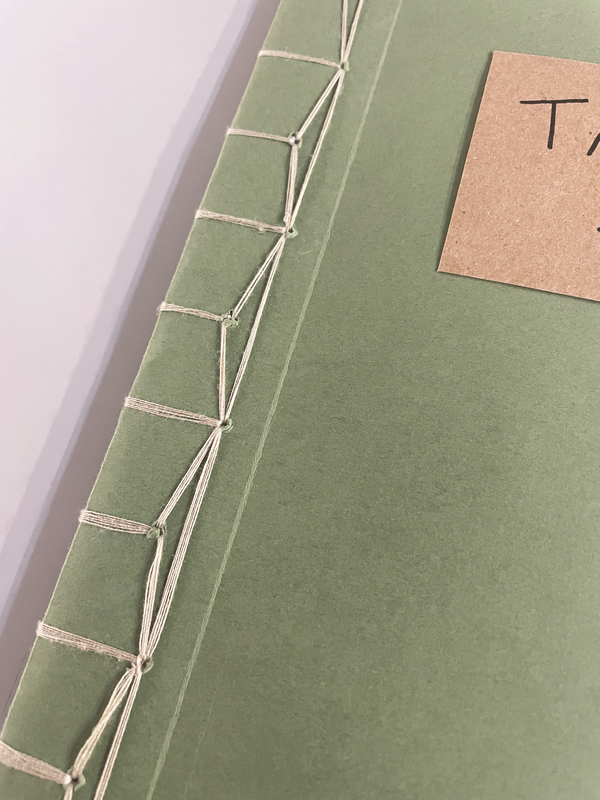
Task Two:
|
|
This task was to create an A5 portrait format slabstitched book. This was my favourite book to make. I enjoyed stitching the spine with thread. I also loved cutting the square pages out on the inside, finding it a relaxing repetative task.
Task Three:

|

|
This task was to create a perfect bound book. I found this difficult to do. The binding was not so "perfect", possible because of how small in scale it is. If I did this again, I would use a more effective glue and make the book larger.
|
|
Task Four:
|
Task Five:
|

I really struggled with this task. I find controlling a cutting knife very hardwork and so holding it in a specific angle was difficult. I ended up not making a bevel and instead just cutting it out. I will have to get better at this as I go on.
|

For this I had to surface mount six postcards on mi-gray card. This was a task I completed effectivly. Each postcard is well dislayed equally apart. I used double sided tape to stick it down.
|
|
Task Six:
|
Task Eight:
|

This task was simple also and I was able to complete it effectively, I flat mounted the card to the foamcore with double sided tape and cut it down with a cutting knife.
|

This task was a fun technique which I hadn't tried until now. I embossed the shapes using the a steal ruler, with another thin piece of paper over the top to protect the sheet.
|
|
Task Nine:
|
Task Ten:
|

This involved cutting a circle with a 40mm radius out of card. I find using the cutting knife very difficult, but I tried very hard with this. This was my second attempt and I am proud with the result, it is pretty smooth to the touch and doesn't contail many bumps at all.
|

For this task was to cut out the word shop in Rockwell Extra Bold and set in upper case letters. To do this, I used a light box to trace the text onto the card and cut it out with sicsssors for the large flat areas and a cutting knife for the fiddly bits.
|
Task Eleven:

|

|
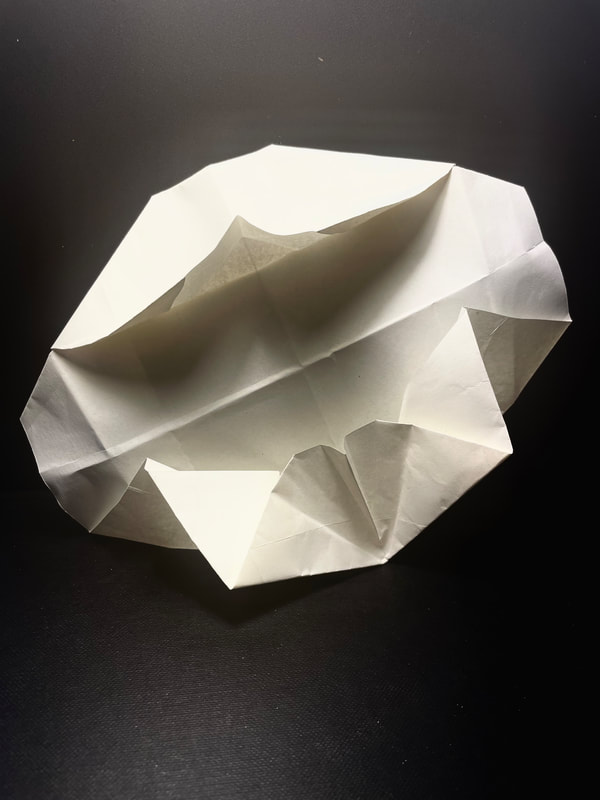
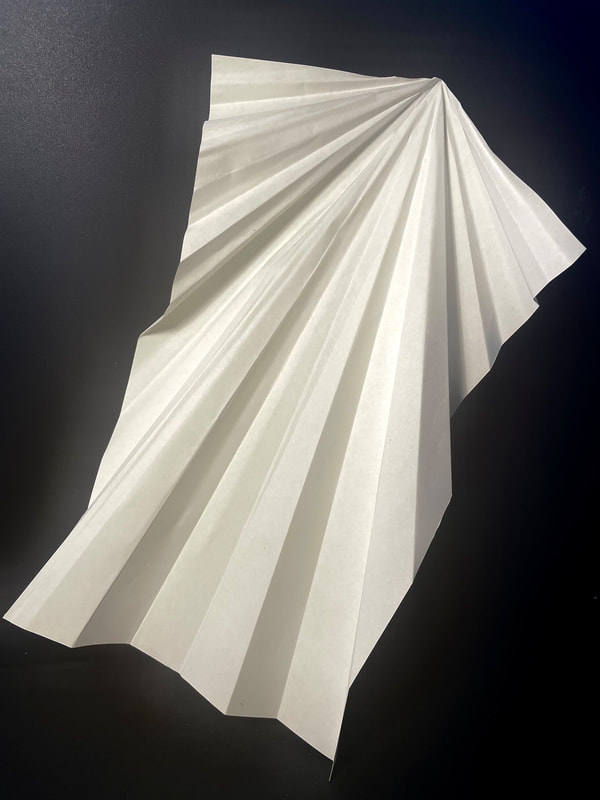
For this we were tasked with making an A5 paper cut out. This was my favourite task. I felt like I could do more creative work and tried hard to make a fun and interesting design that reflects my style. I researched different paper cutting atrists on Pinterest (link here.) I made a digital sketch of my design before jumping into the cut out as shown below to the right. I wanted to use a folkart inspired design which I think was successful. I had gained more confidence with the cutting knife by now and my cuts have become cleaner and more skillful. This is my favourite piece I made during this project so far. I found it engaging to think of positve and negative space within the design, thinking about the contrast between the cut outs and the card.
WEEK TWO: old school continued
what's the brief?
A continuation of honing our manual skills.
Task Twelve:
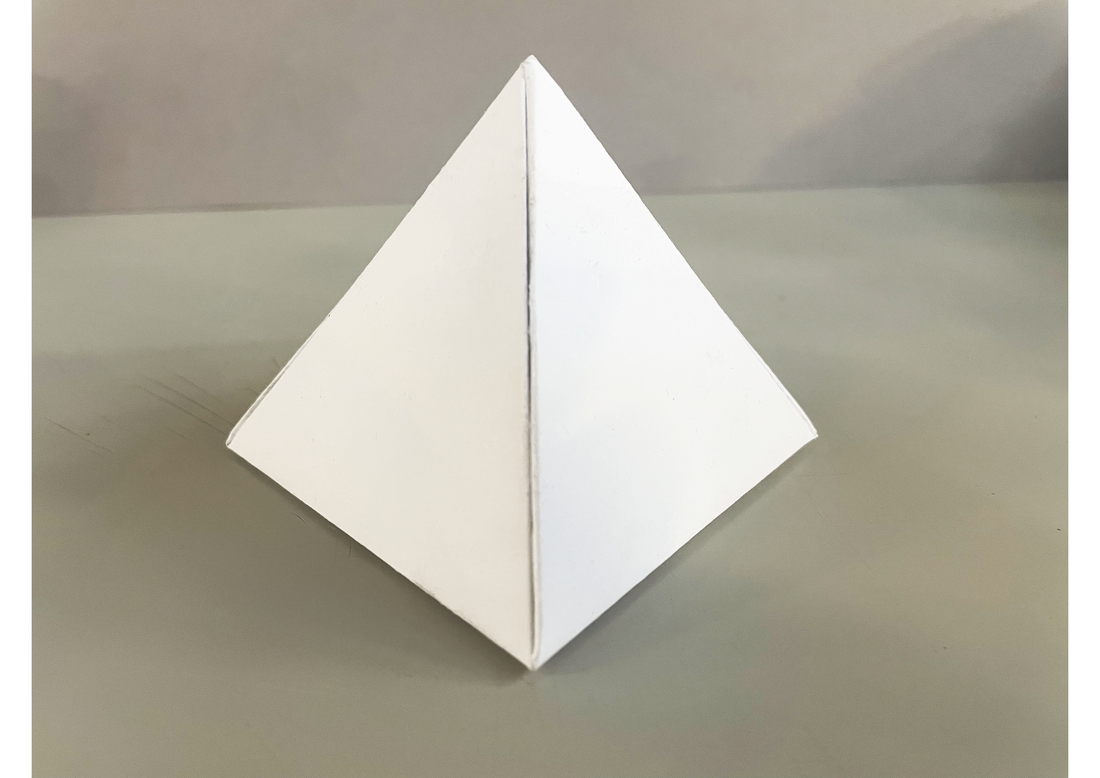
|
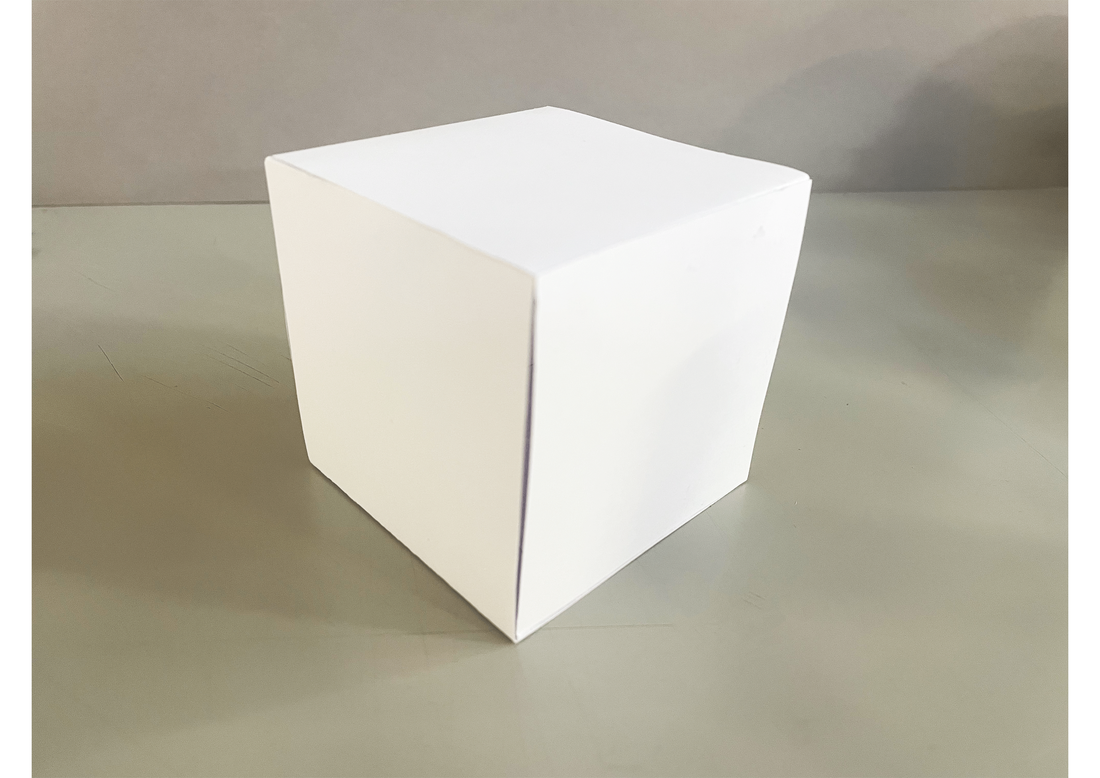
|
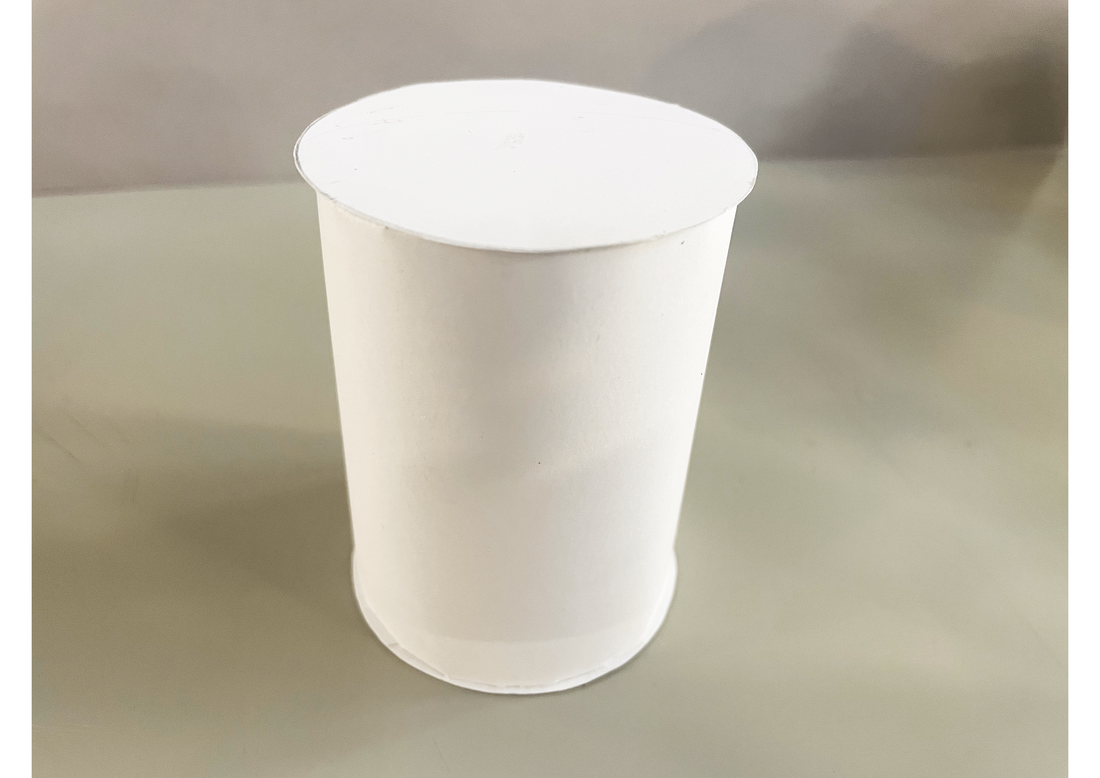
|
This task involved making 3D shapes out of card. I found making the cube and triangle rather easy, but the cylinder gave me a little more trouble, as I found making tabs for the circle portion a little difficult. I think the final results are well executed.
Task Thirteen:

|
This task involved constructing a three dimensional letter "R" in Rockwell font that is solid in every direction. This was the most difficult task for me. I tried making this two times before the final result. I found the cutting and measuring of the letters and card for the width reltivly easy, but the attaching it together was very difficult for me. I feel like if I did this again I would use more tabs to secure it more effectively.
|
Task Fourteen:
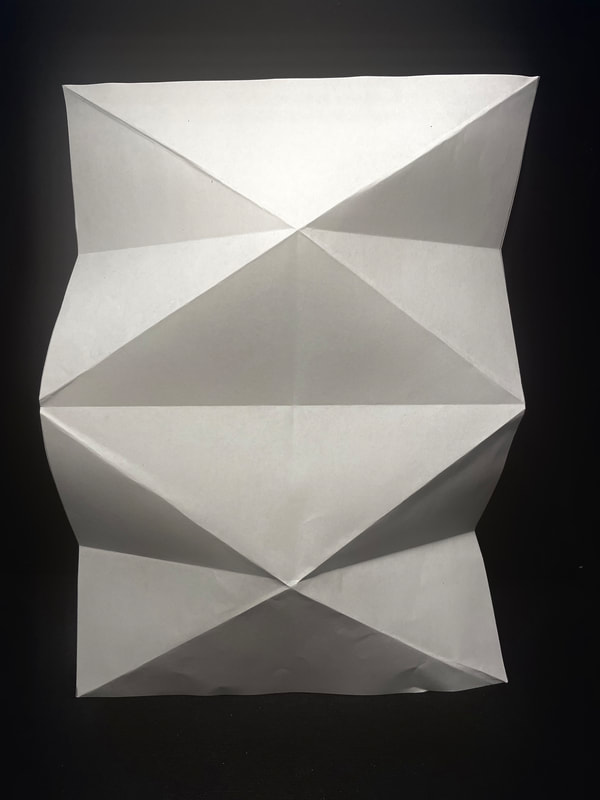
|
|
|
This task involved creating surface patterns using cutting and folding techniques. I created three designs, the last one being my favourite. I photographed them with dramatic lighting and edited them on Photoshop.
|
|

|
To learn basic techniques, I watched this Youtube video and had a look at the examples given on the padlet.

|
Task Fifteen:

|
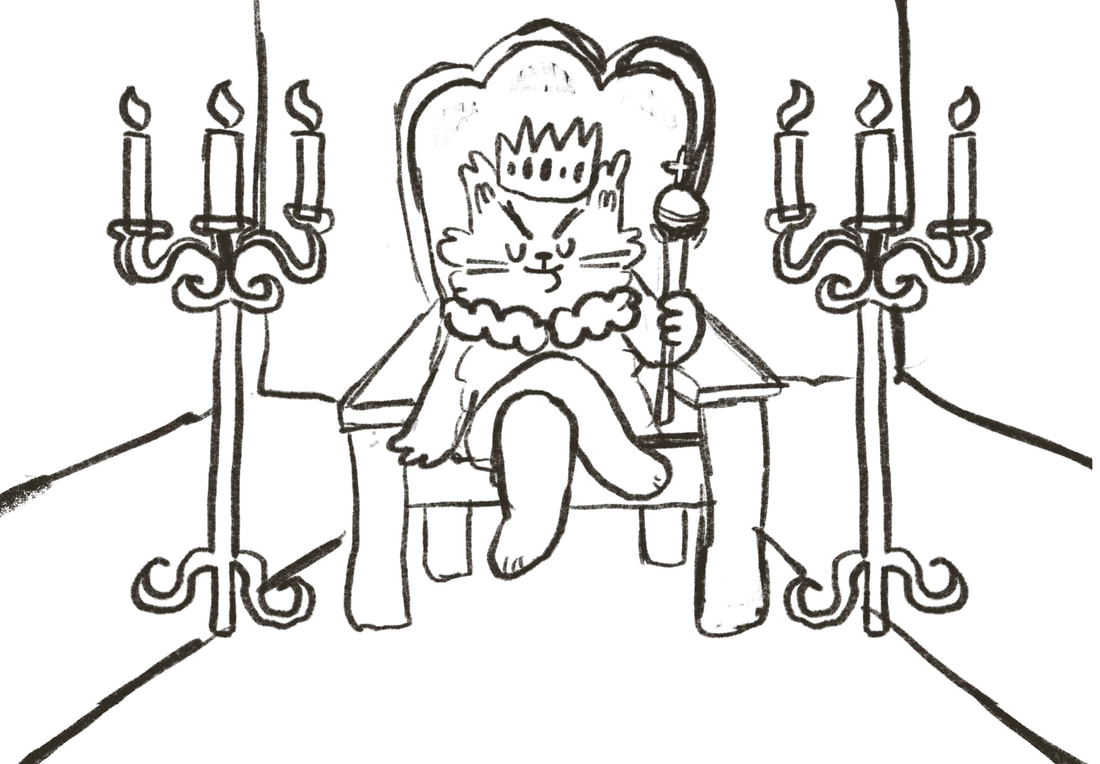
This task was to illustrate a well-known saying as a pop-up. I chose "a cat may look at a king". This was my favourite task so far.I found creating textures such as the lattice pattern on the thone and wood texture on the floor fun. I used a combination of red, brown and black card to keep the royal theme. I also used a metallic gold card for the crown and sceptre to add more visual intrest. I sketched the basic plan on Procreate digitally before starting to cut the pieces out.
|
To learn the skills for making a pop-up book as I've never attempted this before, I watched may tutorials from "The Pop-Up Channel" on Youtube. I found these very helpful to learn the basics along and along with more complex tips. It was easy to follow and helped me when learning V-folds and such. I found the example he showed of successful pop-up books helpful to see also.
|
|
|
|
|
week three: master forger
What's the brief?
This week is all about learning fundamental techniques as an illustrator from the masters. This project forced me to study artist's work and try and produce as an exact copy as possible. The three mediums were: pencil, dip pen & ink and scraper board. I found this task really benefical, learning new techniques and gaining basic knowlege in mediums I have never used before. I think the outcomes are quite close to the originals. I am especially proud of the scythe on the scaer board piece and the face on the dip pen&ink design.

|

|

|

|

|

|
Before making the final outcomes, i practiced with the mediums, testing out different mark making techniques amd supplies. For example, for the dip pen&ink piece, I used the red dip pen I had after experimenting as I found it made more deleicate and precise lines which helped make my final piece more accurate. I also found testing the scaperboard material beneficial as I had never used that medium before and testing it before hand made me be less heavy handed with the scraper tool.
|